Cabinet
 24/7 Support
24/7 Support
WordPress is one of the most popular CMSs in the world: according to W3Techs, about 43.5% of all websites run on it. This platform is free, flexible, and suitable for both blogs and online stores. The main question for a beginner is how to install WordPress on a hosting server on their own, without the help of developers. In fact, installing WordPress takes only a few minutes and can be done even by a beginner. In this article, you will find step-by-step instructions for installing WordPress manually and learn about a quick one-click installation method. We will also look at what kind of hosting you need for WordPress, how to prepare for installation, and how to avoid common mistakes when launching a website.
Before you start the installation, you need to take a few preparatory steps. First, choose a reliable hosting provider that meets the technical requirements of WordPress (the current version of PHP 7.3+ and MySQL 5.6+/MariaDB 10+ are recommended for stable operation). Most modern providers support WordPress “out of the box,” so there should be no problems. Second, register a unique domain name for your site — without a domain, your resource will not be available to users. And thirdly, prepare the tools: you will need an archive with the WordPress distribution and a way to upload files to the server (via an FTP client such as FileZilla or via the file manager of the hosting panel).
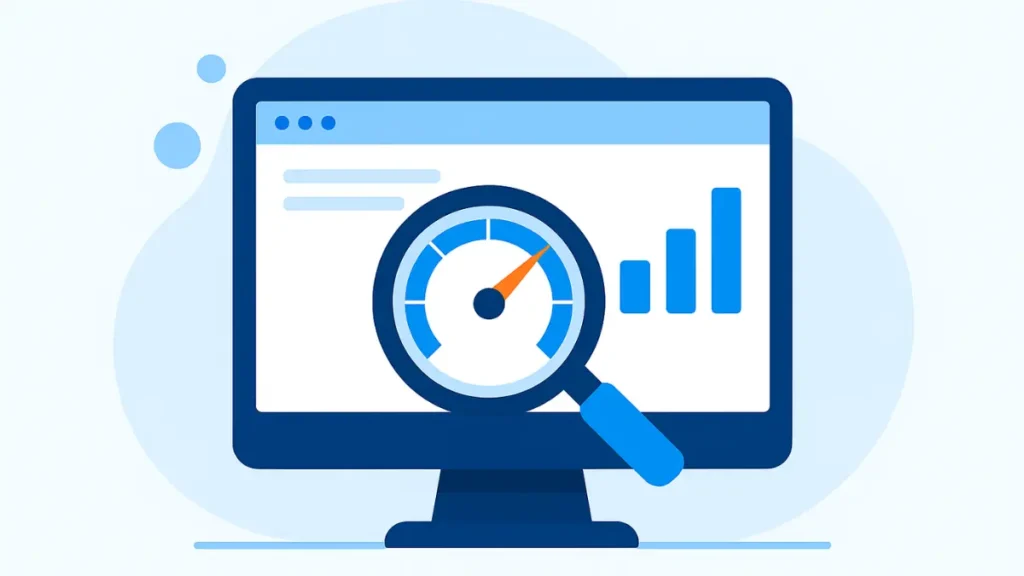
Choosing the right hosting provider is key to successfully launching a WordPress site. Pay attention to speed and stability: good hosting guarantees uptime of at least 99.9% and uses SSD drives for fast site loading. Make sure that the provider supports the necessary technologies (PHP, MySQL) and provides a convenient control panel. A useful option would be the availability of WordPress auto-installers — this will make your life much easier.
Hostpark offers optimal solutions for WordPress projects: fast servers in European data centers that ensure minimal response time (ping ~13 ms from Ukraine), round-the-clock technical support, and flexible pricing plans. Our data centers meet Tier III+ standards with guaranteed 99.999% uptime — your WordPress site will run without downtime. By choosing Hostpark, you get a reliable foundation for your site and expert help with configuration if needed. Contact us to learn more about pricing and get started with your WordPress project.
The second step is domain registration. A domain name is your website’s unique address on the internet (for example, myblog.com). Domain registration is a key step in creating a website: you need to choose an available name and secure it through an accredited registrar. Make sure the domain name is short, understandable, and easy to remember. On the Hostpark website, you can quickly select and register a domain name for your project (popular zones such as .com.ua, .ua, .com, etc. are available). For more information about choosing and working with domains, read our article “Domain names in simple terms: what are they and how do they work?” After registering a domain, you need to link it to your hosting — just enter the hosting provider’s NS servers for the domain name (this information is provided when you connect to the hosting).
Once the hosting and domain are ready, we can proceed directly to installing WordPress on the hosting. Let’s look at the manual method of installing CMS, which is suitable for any hosting provider or even your own server. This method is universal: you download the files yourself, create a database, and perform the initial setup. Don’t be afraid, the process is quite simple and takes about 10-15 minutes.
Note: If your provider offers automatic WordPress installation, you can skip most of the manual steps. However, knowing how to install WordPress manually will come in handy when you need to install WordPress on a VPS or when the automatic installer is unavailable. Below are detailed instructions for manual installation.
First, download the latest version of WordPress from the official website. The easiest way to do this is via the direct link: download WordPress. You will receive a ZIP archive containing all the files for the content management system (CMS). Save the archive to your computer and extract it to a separate folder—this will make it easier to transfer the contents to the server.
Recommendation: always download WordPress only from the official wordpress.org resource to get a clean and up-to-date version without unnecessary modifications.
Now you need to transfer the WordPress files to your hosting. There are two main ways to do this: via the control panel file manager or using an FTP client (such as FileZilla). In both cases, the goal is the same—to place all CMS files in the root directory of your website on the server.
Note: if the server already has index.html or other standard files, they can be deleted or moved so that they do not interfere with WordPress. The main WordPress startup file is index.php, located in the root directory of the site.
WordPress stores all website content (posts, settings, etc.) in a database, so you need to create a new database and user for it in advance. You can do this through the hosting control panel (or the phpMyAdmin tool).
At this stage, WordPress needs to be “introduced” to your database. This is done through the wp-config.php file, which contains the connection configuration. In the newly unzipped WordPress files, you will find a template for this file – wp-config-sample.php.
define(‘DB_NAME’, ‘database_name_here’);
define(‘DB_USER’, ‘username_here’);
define(‘DB_PASSWORD’, ‘password_here’);
define(‘DB_HOST’, ‘localhost’);
Replace ‘database_name_here’, ‘username_here’, ‘password_here’ with the appropriate database name, username, and password you created in step 3. The default value for ‘DB_HOST’ is localhost, which is usually correct (if the database is on the same server as the website).
Tip: carefully check that there are no extra spaces or invisible characters in the wp-config.php file before the opening tag <?php – otherwise, errors such as “Headers already sent” may occur. Also, make sure that the file is saved in UTF-8 encoding without BOM (some text editors, such as Notepad, may add BOM, which will cause an error).
The main preparatory steps are complete! Now it’s time to launch the WordPress installer and configure the basic settings for your site. To do this, open your site’s address in your browser. If you’ve done everything correctly, WordPress will automatically recognize that it is not yet installed and redirect you to the installation page. You can also manually go to http://Ваш-домен/wp-admin/install.php – the WordPress installation wizard should load.
This completes the manual installation of WordPress. You can now open the main page of your site—by default, it will be a standard WordPress template with a test post saying “Hello world!” Congratulations, you have launched your own WordPress site!
Despite the simplicity of the process, errors sometimes occur when installing WordPress. Let’s take a look at the most common ones and how to solve them:
This error means that WordPress cannot connect to the database. The reasons are either incorrect database details or the database is unavailable. Check the DB_NAME, DB_USER, and DB_PASSWORD parameters in the wp-config.php file to make sure they match your database details. Also, make sure that the database user has all the necessary permissions and that the database server itself is running. In most cases, correcting the connection details will solve the problem. If not, contact your hosting provider’s support team.
The appearance of a blank white page without error messages is known as the “White Screen of Death.” It can occur if a critical PHP error has occurred or the script has run out of resources. If you see a white screen when you start the installation, first check the files — make sure all WordPress files have been uploaded to the server and that the site directory is specified correctly. Often the problem lies in incomplete data transfer (for example, FTP may have been interrupted and not copied all the files). Upload the missing files again. Additionally, you can enable WordPress debug mode (add the line define(‘WP_DEBUG’, true); to wp-config.php), then instead of a white screen, a message about a specific error will appear. After eliminating the cause (lack of memory, incompatible PHP version, syntax error, etc.), don’t forget to turn WP_DEBUG back off.
Sometimes WordPress does not install or work correctly due to incorrect file/folder access rights. For example, the installation script may not be able to create the wp-config.php file or the uploads directory for media files. The solution is to set the correct permissions: for WordPress folders, 755 permissions are usually sufficient, and for files, 644. Never set 777 for folders — this is a security vulnerability. If your hosting uses different requirements (some panels require 750 for text and 640 for files), follow them. After changing the privileges, try repeating the installation or the corresponding action (file upload, plugin update, etc.) that caused the error.
If you manually edited wp-config.php and made a mistake, WordPress may display errors such as “Warning: Cannot modify header information – headers already sent…” or fail to connect to the database. Most often, the problem is caused by “extra” characters or incorrect file encoding. Make sure that there is nothing before <?php at the very beginning of wp-config.php (no spaces or BOM characters). There should also be no closing tag ? > at the end of the file. Save the file in UTF-8 encoding without BOM. If the error concerns the connection to the database, double-check your login, password, database name, and host. If necessary, you can delete the wp-config.php file and repeat the installation step (WordPress will offer to create this file from scratch). The main thing is to carefully enter the correct data. After correcting the configuration, reload the page — the installation should continue.
Note: most WordPress installation problems are easily solved. As the official documentation advises, don’t panic! If something goes wrong, there’s a 90% chance that someone else has already encountered the same situation, and a solution can be found.
WordPress opens up a wide range of possibilities for creating websites – and as you have seen, anyone can install this CMS. In about 15 minutes, you can launch your own blog or business website by following a few simple steps. First, prepare the environment: reliable hosting and a good domain name are the foundation of your project. Next, either go through the step-by-step manual installation, configuring all the parameters in detail, or use the WordPress auto-install via the panel to save time. Both approaches have their advantages: manual gives you a better understanding of the process, while automatic offers maximum speed and convenience.
We hope this guide has helped you understand how to install WordPress on your hosting yourself. Now you can confidently launch your website and fill it with content. If you haven’t chosen a hosting provider yet or want to improve the conditions for your WordPress website, check out Hostpark. We will be your reliable partner in the world of hosting: we guarantee security and 24/7 availability, speed, flexibility for growth, and expert support. Launch your WordPress in 15 minutes — we’ll take care of the technical side!
We wish you success with your WordPress project!
Response

We have been cooperating with Hostpark for several years. We are very pleased with the highly coordinated work! The company always provides quality services and offers favorable conditions. The technical support team responds quickly to requests and, if necessary, provides consultations and explanations. If you have any technical issues, the specialists solve everything promptly! We can safely recommend it.
Sincerely, Mykhailo Savinov, Director of Astelit LLC
AVA Group recommends Hostpark as a reliable partner that has been tested by time. You always stand up for your client's interests, and this is very gratifying. We wish you development and prosperity!
Sincerely, Maxym Shevchuk, President of AVA Group

CFJ Trading LLC expresses its gratitude to HOST PARK GROUP LLC for the successful implementation of the project on the introduction of a new virtual infrastructure hosting based on the Atman data center. Over the three years of cooperation, HOST PARK GROUP LLC has proved to be an expert in its field, with certified engineers and qualified technical specialists involved in the projects. The specialists of HOST PARK GROUP LLC actively participated in the design, construction of infrastructure in accordance with the project requirements, in the development and expansion of the data center, and in its active support. Engineering support in the data center itself was provided in a timely manner and at the appropriate professional level, and the implementation of new capacities was carried out with the highest quality and in the shortest possible time. We would like to note the high professional level of the specialists of HOST PARK GROUP LLC and thank them for the prompt and high-quality implementation of the project. All works were completed in full in accordance with the contractual obligations and terms of reference and in compliance with the deadlines. We look forward to further fruitful cooperation.
Sincerely, V.Yu. Cherniavskyi, Director of Business Development and Support Department, CFJ Trading LLC
Relocating a data center to another facility within Ukraine was already a challenging task even in peacetime. Moving it abroad, and under wartime conditions, was an even greater challenge. However, thanks to the Hostpark team, we were able to complete this process as smoothly and painlessly as possible. UNIVERSAL BANK is a major Ukrainian retail bank. Nearly 10 million citizens of Ukraine are our clients and loyal users of our mobile application, monobank. Ensuring uninterrupted access to our customers’ funds has always been our highest priority. However, with the onset of the full-scale war, fulfilling this task became extremely difficult — all of our data centers were located within Ukraine and were exposed to significant risks. As a result, a decision was made to quickly establish a fully operational data center within the European Union, using the network and server equipment already at our disposal. To accomplish this task, we required a competent partner with experience operating both in Ukraine and in the EU — and such a partner for us was HOSTPARK. The teams of UNIVERSAL BANK and HOSTPARK carefully developed a plan to relocate part of the Bank’s critical IT infrastructure from Ukraine to the EU, selected a suitable location for the equipment within the EU, resolved all related customs and organizational matters in both Ukraine and the EU, and successfully executed the migration plan while avoiding downtime and maintaining full control over the process. Currently, our equipment is hosted in one of the EU countries in a specialized data center that meets the highest industry standards. Our data centers in Ukraine and the EU are connected via high-capacity data transmission channels (with HOSTPARK once again acting as one of the providers). Over an extended period of operation, we have proven the reliability of this infrastructure in practice. We would also like to highlight the continuous support provided — we were always in close contact with the HOSTPARK team, and all issues were resolved promptly and professionally. We sincerely recommend HOSTPARK as a reliable partner for organizations seeking to ensure the highest level of stability and security for their IT infrastructure.
Yours sincerely,
Acting Chairman of the Management Board
JSC “UNIVERSAL BANK” Valerii ZADOROZHNYI


Ask us and our managers will contact you as soon as possible.